How to connect Strava and MapMyRide
Follow these easy steps in order to connect your Great Cycle Challenge account with your Strava or MapMyFitness (which is the same as MapMyRide) account, so your rides sync within 60 minutes of completion during October.
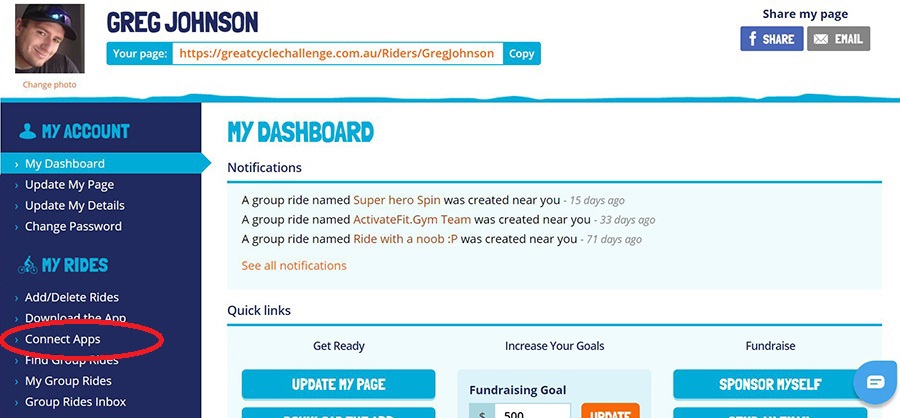
1) Login to your Great Cycle Challenge account if you're not logged in already or click on My Dashboard if you are already logged in.

2) Click on 'Connect Apps' under the My Rides heading in your challenge dashboard menu on the left-hand side.
3) Click on either 'Connect with Strava' or 'Connect with MapMyFitness' (which is also MapMyRide) button to connect the app you wish to use to track your riding. You only need to use one or the other, not both, of these apps.

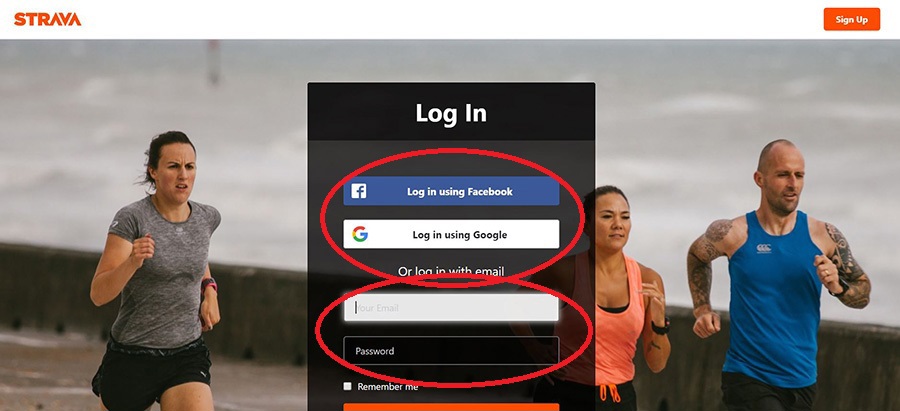
4) Login to your Strava or MapMyFitness account using the login details you originally created that account with.
5) Click 'Authorize' to give Great Cycle Challenge permission to access your ride data throughout the challenge.

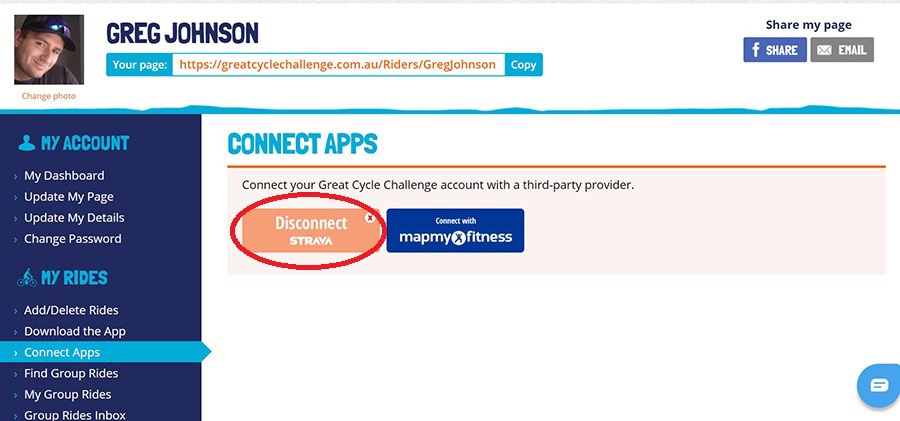
6) You will be returned to your Great Cycle Challenge dashboard, where the button will have changed to 'Disconnect Strava' or 'Disconnect MapMyFitness' which means your accounts are now connected and future rides will sync to Great Cycle Challenge within 60 minutes of being saved to Strava or MapMyFitness.
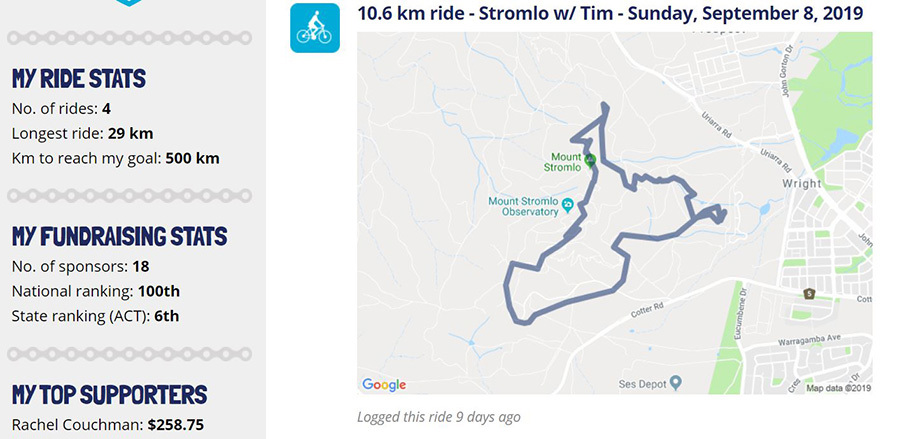
7) Rides completed after syncing your Great Cycle Challenge account with Strava or MapMyFitness and saved as both a 'Cycling' activity type and 'Public' will appear on your challenge page within 60 minutes of being saved to Strava or MapMyFitness.
Rides completed prior to the connection will not come across, so do not disconnect from Strava or MapMyFitness if the ride doesn't sync instantly, as this will reset the connection time, preventing the ride from being able to sync.
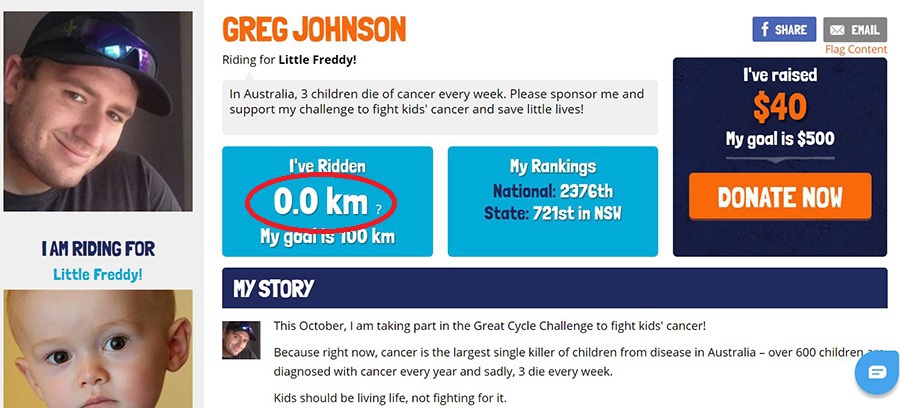
8) The total distance ridden on your challenge page will only update from October 1 onwards, when the challenge's official ride period commences. All test rides added prior to October 1 will be removed from the platform at midnight on October 1.
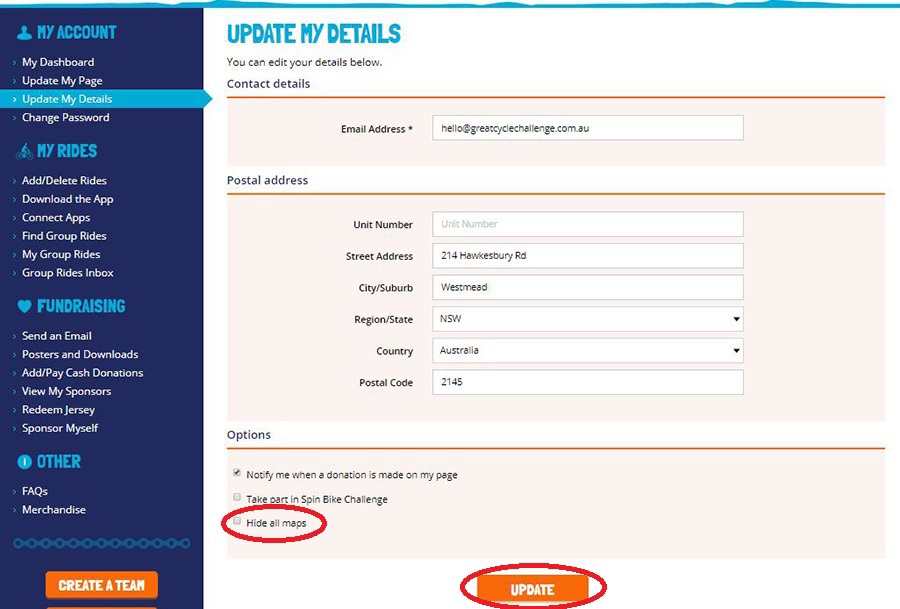
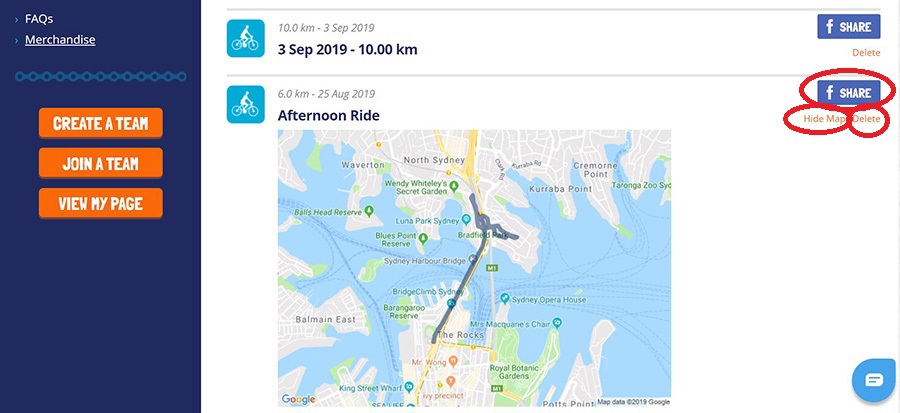
9) You can Hide the ride map, Delete a ride or Share the ride on Facebook by returning to the 'Add/Delete Rides' page where it was originally added, and then scrolling down to the specific ride you wish to hide the map, delete or Share on Facebook. On the right-hand side next to each ride, you will see a text link to Hide Map, Delete the ride or you can press the Share button to share the ride on Facebook.
10) There is also a master setting which will hide all maps from your profile, should you wish to do so. You can locate this by going to 'Update My Details' under the My Account heading on your challenge dashboard's menu, then ticking the 'Hide all maps' option and pressing update at the bottom of the page.